Most souvenir shops give you the same choices. A generic skyline. A flag. Maybe the name of the city stamped underneath.
Making your own travel merch gives you a lot more to work with. A pin could show the mountain you climbed, the route you drove, the airport code you kept seeing on your boarding pass, or the coordinates of a place you want to remember.
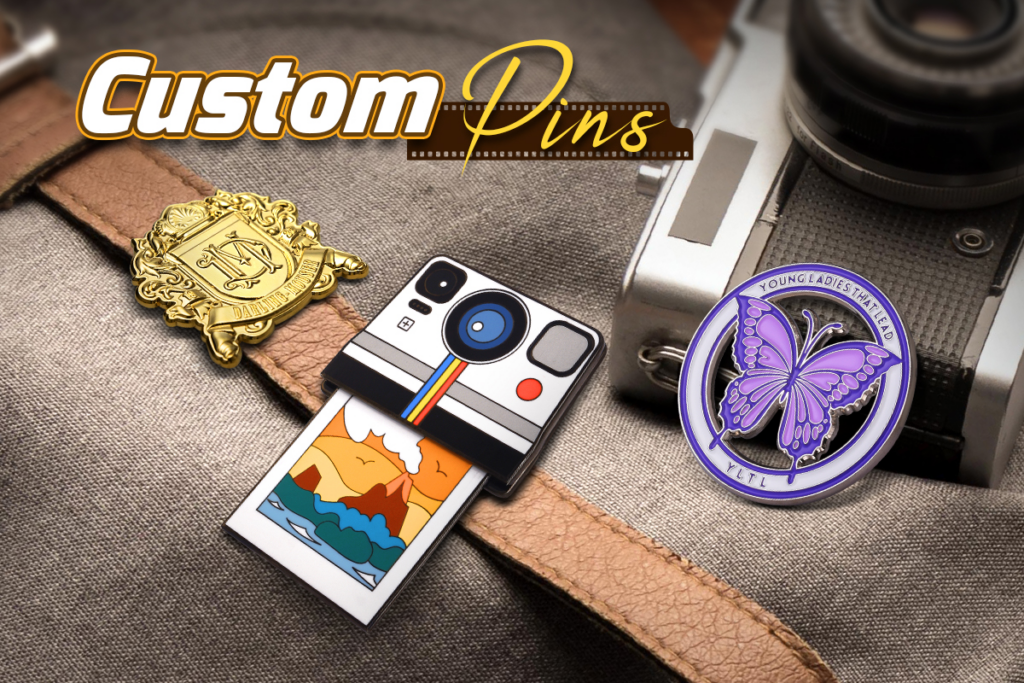
Custom pins work especially well for this because they’re small enough to collect from trip to trip. The challenge is getting the design right at that size. The shape, amount of detail, and way the pin is made all affect what the finished piece can actually show. Below are a few ways to turn a trip or destination into a pin design.
Decide What the Pin Should Represent
Start with the part of the trip you want to remember.
For a city break, that could be the skyline or a landmark you kept passing. For a hiking trip, maybe it’s the mountain profile, trail marker, elevation, or coordinates of the summit. A road trip could become a highway shield, route map, or a string of places you stopped along the way.
Some ideas include:
If you’re planning a collection, think about the next pin too. You could keep every destination pin the same size and shape, then change the landmark and city name. A Tokyo, Paris, and New York set, for example, could use the same round border and lettering with a different skyline in the middle.
Keeping a few design elements the same helps the individual pins feel like part of one collection.
Which Custom Lapel Pin Shapes Work Best for Travel Designs?
Let the artwork guide the shape. A compass, a mountain view, and the outline of a country are very different designs, so it makes sense to frame them differently.
A round pin is a natural fit for compasses, expedition badges, and travel-club logos. The main graphic can sit in the center, with the destination or trip name running around the edge.
For something long or wide, a rectangle or square may work better. Think mountain views, postcards, train tickets, luggage tags, and flags. You can place a destination name or date alongside the main image without squeezing everything together.
A shield shape works well when the design is based on a sign or badge. Highway routes, national park designs, and travel-club emblems are all good examples.
Some designs have a recognizable shape of their own. A custom-shaped pin can follow the outline of a country, mountain range, camper van, or landmark. GS-JJ currently uses the same base pricing for standard and custom shapes, so you’re free to choose whichever one suits the design.
The last thing to consider is size. A country outline with one landmark may still look clear on a small pin. Add a route, coordinates, date, and destination name, and you’ll probably want to go bigger so those details stay easy to see.
The amount of detail in your artwork can help you choose how the pin should be made.
A simple Yosemite mountain silhouette and a detailed map of the Inca Trail could both make great travel pins, but they need very different things from the production process.
Printed pins for detailed artwork
Printing works well when you have lots of fine details to keep.
Because the colors are printed rather than separated by raised metal lines, you have more freedom with coordinates, detailed maps, fine skylines, watercolor artwork, photographs, and gradients.
Imagine turning a European rail trip into a miniature ticket showing:
LON → PAR → AMS → BER
You could keep the dates and other small details that make it look like an actual ticket.
Printing also makes sense when you want to use a photograph. A sunset over the Amalfi Coast might have gradual changes in the sky and water that are difficult to recreate with separate blocks of enamel color.
For raster artwork, GS-JJ recommends 300 DPI to help keep those smaller details sharp.
Enamel pins for simpler, bolder designs
Enamel suits artwork with clean lines and solid areas of color.
Each color sits within metal borders. GS-JJ specifies a minimum metal line width of 0.2 mm and at least 0.3 mm of space for enamel color fills. Gradients and photographic color changes also need to be broken down into solid colors.
Think of a black mountain against a blue sky, a Route 66 shield, a three-letter airport code, or a simple national park emblem. Those designs already have the bold shapes and clear color areas that enamel handles well.
A full street map with tiny coordinates and a detailed landmark is a different story. For something like that, either simplify the artwork or use a printed pin so you can keep more of the detail.
Which Pin Type Offers the Best Balance of Color Retention and Cost?
How you’ll use the pin matters here.
A pin sitting on a collection board has a pretty easy life. One attached to the outside of a travel backpack gets rubbed against straps, jackets, seats, luggage racks, and whatever else the trip throws at it.
Hard enamel has a smooth surface because the enamel is filled and then polished level with the surrounding metal. That makes it a strong choice for a travel pin that’s going to see regular handling and friction. You also get the clean, polished finish people often associate with collectible pins.
Soft enamel leaves the colored areas recessed below the metal lines. You can actually feel those raised borders when you run your finger over the pin. It costs less than comparable hard enamel in GS-JJ’s current pricing, so it can make sense for larger group orders or when you specifically want that textured look.
Printed pins trade the traditional enamel appearance for much greater artwork flexibility. The printed image is protected by a clear epoxy layer, but there’s a tradeoff worth knowing about if the pin will live outdoors. Long periods of direct UV exposure can eventually cause standard epoxy resin to yellow.
Price can help settle the decision, but don’t look at the production method alone.
Pin size and order quantity can move the price considerably. Plating, backing, packaging, special effects, and turnaround time can change it further. Ordering 250 matching pins for a travel club is a very different calculation from making 20 or 50 keepsakes for one group trip.
Choose the method based on the artwork first. Then adjust the other options to bring the order closer to your budget.
Turn a Single Trip Into a Collection or Matching Merch Set
Once you have a design you like, you can use the same basic setup for future trips.
Say your first pin is for Yosemite. Keep the shield shape, lettering, metal finish, and layout for Zion and the Grand Canyon, then change the park name, landscape, and background color.
You could do the same with cities. A Tokyo, Paris, and New York set could use the same round border, with HND, CDG, and JFK in the same spot on each pin. Add another city later, and you already know how its pin should look.
The design can work on other travel merch as well. An enamel landmark or destination logo could become custom keychains by swapping the pin post for keychain hardware. If you’re working with a detailed map, photograph, or illustration, acrylic gives you more space for the smaller details.
For something softer and more dimensional, you could use PVC. Mountains, camper vans, island outlines, and travel-club logos can all work with raised details. GS-JJ’s breakdown of the steps involved in making PVC keychains explains how the artwork and different layers are set up before production.
If you use the same design for a keychain, take another look at the shape before you order. You’ll have more space to work with, but you’ll also need somewhere to attach the ring or clasp. Very thin edges or sharp points can be widened or rounded off so they work better hanging from a backpack, luggage zipper, or set of keys.
Start With the Trip, Then Choose the Pin
Think about what you want to remember from the trip first.
Maybe it’s the mountain you finally reached the top of. Maybe it’s four airport codes from a month-long trip. Or it could be the destination badge everyone in your group takes home.
Once you know what belongs on the pin, look at how much text, color, and detail you’re working with. A bold landmark could work well in enamel, while a detailed route map may be better printed.
And if you’re building a collection, keep the shape, lettering, or layout consistent from one trip to the next. Change the destination, but keep enough of the design familiar that every new pin feels like part of the same set.