With the cost of power skyrocketing and the issues of global warming and climate change becoming more urgent, homeowners are looking for alternative power options. Professional solar installations can be expensive but doing it yourself is a fun adventure as well as a great way to lower your total solar installation costs by 40-60% and achieve energy independence. The secret to getting the most out of your solar energy is efficient battery storage so you can use your power when the sun isn’t out. This step-by-step guide steers you to set up your own solar storage system – from essential requirements and which tools need to be at hand – to perfecting the installation process. Whether you’re wanting to decrease your carbon footprint, or, even better, seize the opportunity to go off-grid – armed with this foundational insight you will be able to construct a stable, cost-effective system that provides just the right amount of juice to power your particular homestead.
Understanding DIY Solar System Components
The secret to any successful DIY solar system involves understanding and choosing the best solar components. Today’s solar panels are of two main types: monocrystalline and polycrystalline. Monocrystalline panels are more efficient and better in low-light than polycrystalline, but will come at a premium rate. The polycrystalline panels are a little less expensive and widely commercially friendly. Inverters for generators and microinverter technologies are important. That’s because string inverters – which link all panels to one device – will do the first job more cheaply than microinverters, which optimize each panel separately, but for things like partial shade, the advantages of microinverters add up. Battery storage options include cheaper traditional lead-acid, which needs periodic maintenance, and more expensive longer life and deeper discharge lithium-ion batteries. Missing Balance of System components comprise charge controllers to avoid overcharging, disconnects to prevent fires, and the use of correct gauge wiring to compensate for power loss. To properly size your system, determine your daily energy use in kilowatt-hours and consider regional sun hours, then add 20% for system efficiency loss and future energy needs. By working systematically, you’ll make sure your DIY solar system meets the energy needs of your household and maximizes the return on your investment.
Solar Panel Installation Methods Explained
Effective DIY solar installation starts with the decision of whether to mount on the roof or on the ground. The advantage of installing them on a roof is to take advantage of otherwise unused space, which often also has the best sun exposure; but to do so requires waterproofing the roof and closely monitoring the overall structure. Rack-mounted systems do provide easier maintenance access, but still require ground or canopy post supports, ensuring adequate wind protection.
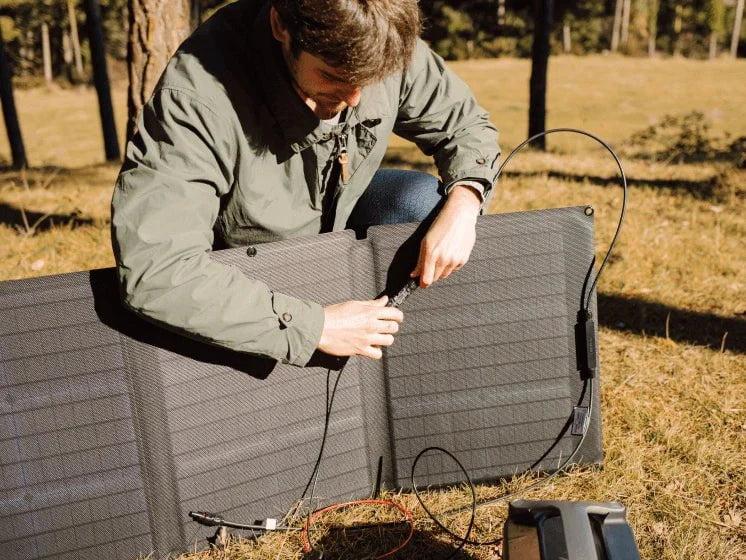
To maximize energy generation, use your latitude +15° in winter, or -15° in summer to get the summer and winter gnomons that you can use to adjust the system’s position. Orientation towards the South is a central aspect in the Northern hemisphere; installation deviations of 30 degrees to the east or west are generally permissible. When wiring panels in series, the voltage is multiplied and the current remains the same, while wired in parallel the current is multiplied and the voltage remains the same. Essential weatherproofing such as UV-resistant cable conduits, proper flashing around the roof penetrations, and silicone sealant for mounting holes is necessary. Whether on a roof, the terrain, or an A-Frame, your solar installation tool kit will need to include a multimeter for checking connections, torque wrench for accurate mounting hardware tension, MC4 crimping tools for professional connections, and safety gear like fall protection harnesses for roof work. For an easier time adding panels in the future, or if monitoring the performance of each module is a priority, look at microinverters or power optimizers at the time of initial installation.
Building Solar Battery Storage Systems
Battery Selection Criteria
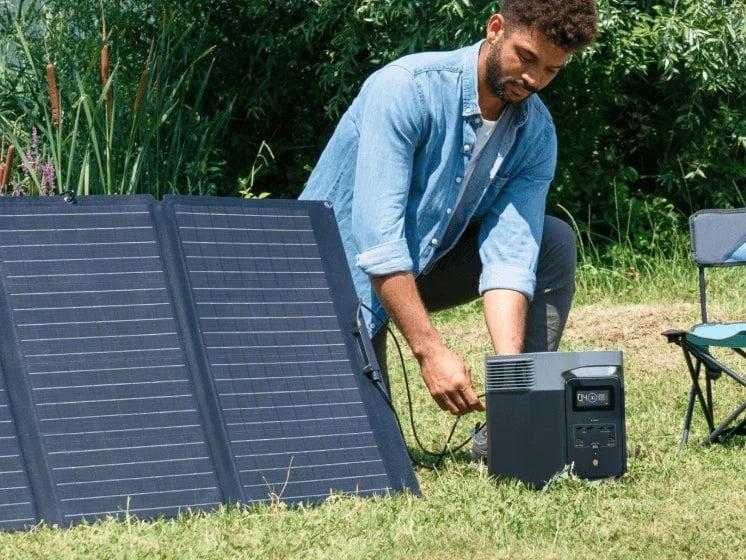
When you are planning your solar battery storage, one of the most important things to consider is ‘which battery to use’. Your ‘usable’ energy comes down to the relationship between capacity and depth of discharge – and, while that 200Ah battery might seem massive, for a lead-acid battery your DoD often shouldn’t exceed 50%, so you’re down to just 100Ah. Newer solutions, such as EcoFlow’s line of portable power stations, incorporate advanced lithium battery technology, which normally allows for a depth of discharge of somewhere between 80% to 90%, letting them make the absolute most use of the space they take up. Cycle life can range widely between chemistries, with good lithium batteries capable of 5,000-10,000 cycles, compared with under 200-300 for basic lead-acid. Performance and lifespan temperature sensitivity affects performance and lifespan – regular batteries perform best between 20-25 degrees C (68-77 F) and capacity falls off quite a cliff outside of this range. If you are adding panels to your current system, check the voltages of the new panels you wish to install to verify they are compatible with your existing solar array and add the necessary charge controllers if needed.
Storage System Wiring Diagrams
The configuration of your storage system has a big impact on both the thermodynamic efficiency and the reliability. AC-coupled systems hook up batteries using a second battery inverter – perfect for adding storage to an existing solar installation, but there’s an extra conversion loss involved. In DC-coupled configurations, in contrast, batteries are linked directly to the PV modules by means of charge controllers, which are more efficient, but may need careful selection of voltages. Place overcurrent protection for both battery terminals and in series between the major system components with adequately sized circuit breakers or fuses in accordance with the associated wiring or terminals and resistance. The critical load panel is installed with its own dedicated power transfer switching equipment that will either isolate critical loads while the circuit is down, or provide an alternate source of power in the event that the circuit fails. Contemporary monitoring systems connect via current transformers and voltage sensors, allowing you to monitor the performance of your solar power system in real time, manage your solar system automatically from your smartphone and through a web interface.
Inverter Selection and Configuration
The choice of the inverter, on the other hand, is fundamental for system reliability and efficiency. Those newly installed grid-tied inverters that can integrate with utility power do not work in an outage to avoid back feed and ensure safety! Hybrid inverters offer both grid-tie capabilities and battery backup power, so they are ideal for energy autonomy. Knowing how Maximum Power Point tracking (MPPT) technology operates is crucial – these controllers monitor the voltage and current of the solar panels and constantly adjust it to yield maximum power regardless of how much sunlight your panels are getting.
Today’s inverters need strong surge protection for lightning and grid transients on both the DC and AC side by using dedicated Type 2 terminal connection devices (Type 2 surge protective devices, or SPDs). Regular firmware updates help keep systems running optimally while offering new utility with efficiency algorithm updates and security patches. Today, most of the manufacturers support remote updates through Wi-Fi or cellular connections, but essential updates might still need to be done manually. Design your inverter with DC input voltage windows, maximum current ratings, and future expansion in mind for maximum long-term performance.
Safety Protocols for DIY Energy Projects
The work on solar power systems requires a high level of safety in order to avoid accidents and to ensure the reliability of the system. ALWAYS turn the system off before attempting system repair so there is no AC (alternating current) or DC (direct current) power going to the system; always wear appropriate Personal Protection Equipment (PPE) as necessary according to your company’s standards. This includes insulated gloves and respect for all voltages that are associated with the equipment. Fit with ground-fault protection devices and ensure proper ground bonding to comply with NEC Article 690. When operating on batteries, make sure there is plenty of ventilation to avoid the build-up of hydrogen gas — especially in the case of flooded lead-acid batteries — and keep whatever type of fire extinguisher you have nearby. Place battery disconnect switches within easy access and label all system parts and disconnects. Design separate battery compartments with acid-resistant floors and drainage for maintenance. Never work alone on high-voltage systems and have an emergency response plan that addresses electrical fires as well as chemical spills.
Long-term Benefits of DIY Solar Storage Systems
Constructing a homemade solar storage backup system is a statement of energy independence as well as your pocket in savings. When well-engineered and installed, such systems can actually pay for themselves within 5-7 years with diminishing utility bills along with potential energy credits. A tailored combination of well-matched panels, batteries, and inverters provides the next level of reliability from a power ecosystem that can save with a reduction in your home’s carbon footprint of up to 3-4 tons of CO2 a year. So although the creative approach can cut costs in half, again, remember – safety is everything – Always check local building codes, get the required permits, and even look into having a professional inspection prior to operation. As long as the system is well taken care of and its components are periodically replaced, you can count on your solar storage system to deliver decades of free, clean, reliable power and insulate you against increasing energy prices and instability in the grid. The road to energy self-sufficiency won’t be fast, easy, or free, but the upshot for you and Mother Earth is hard to beat as an investment in your home’s future.